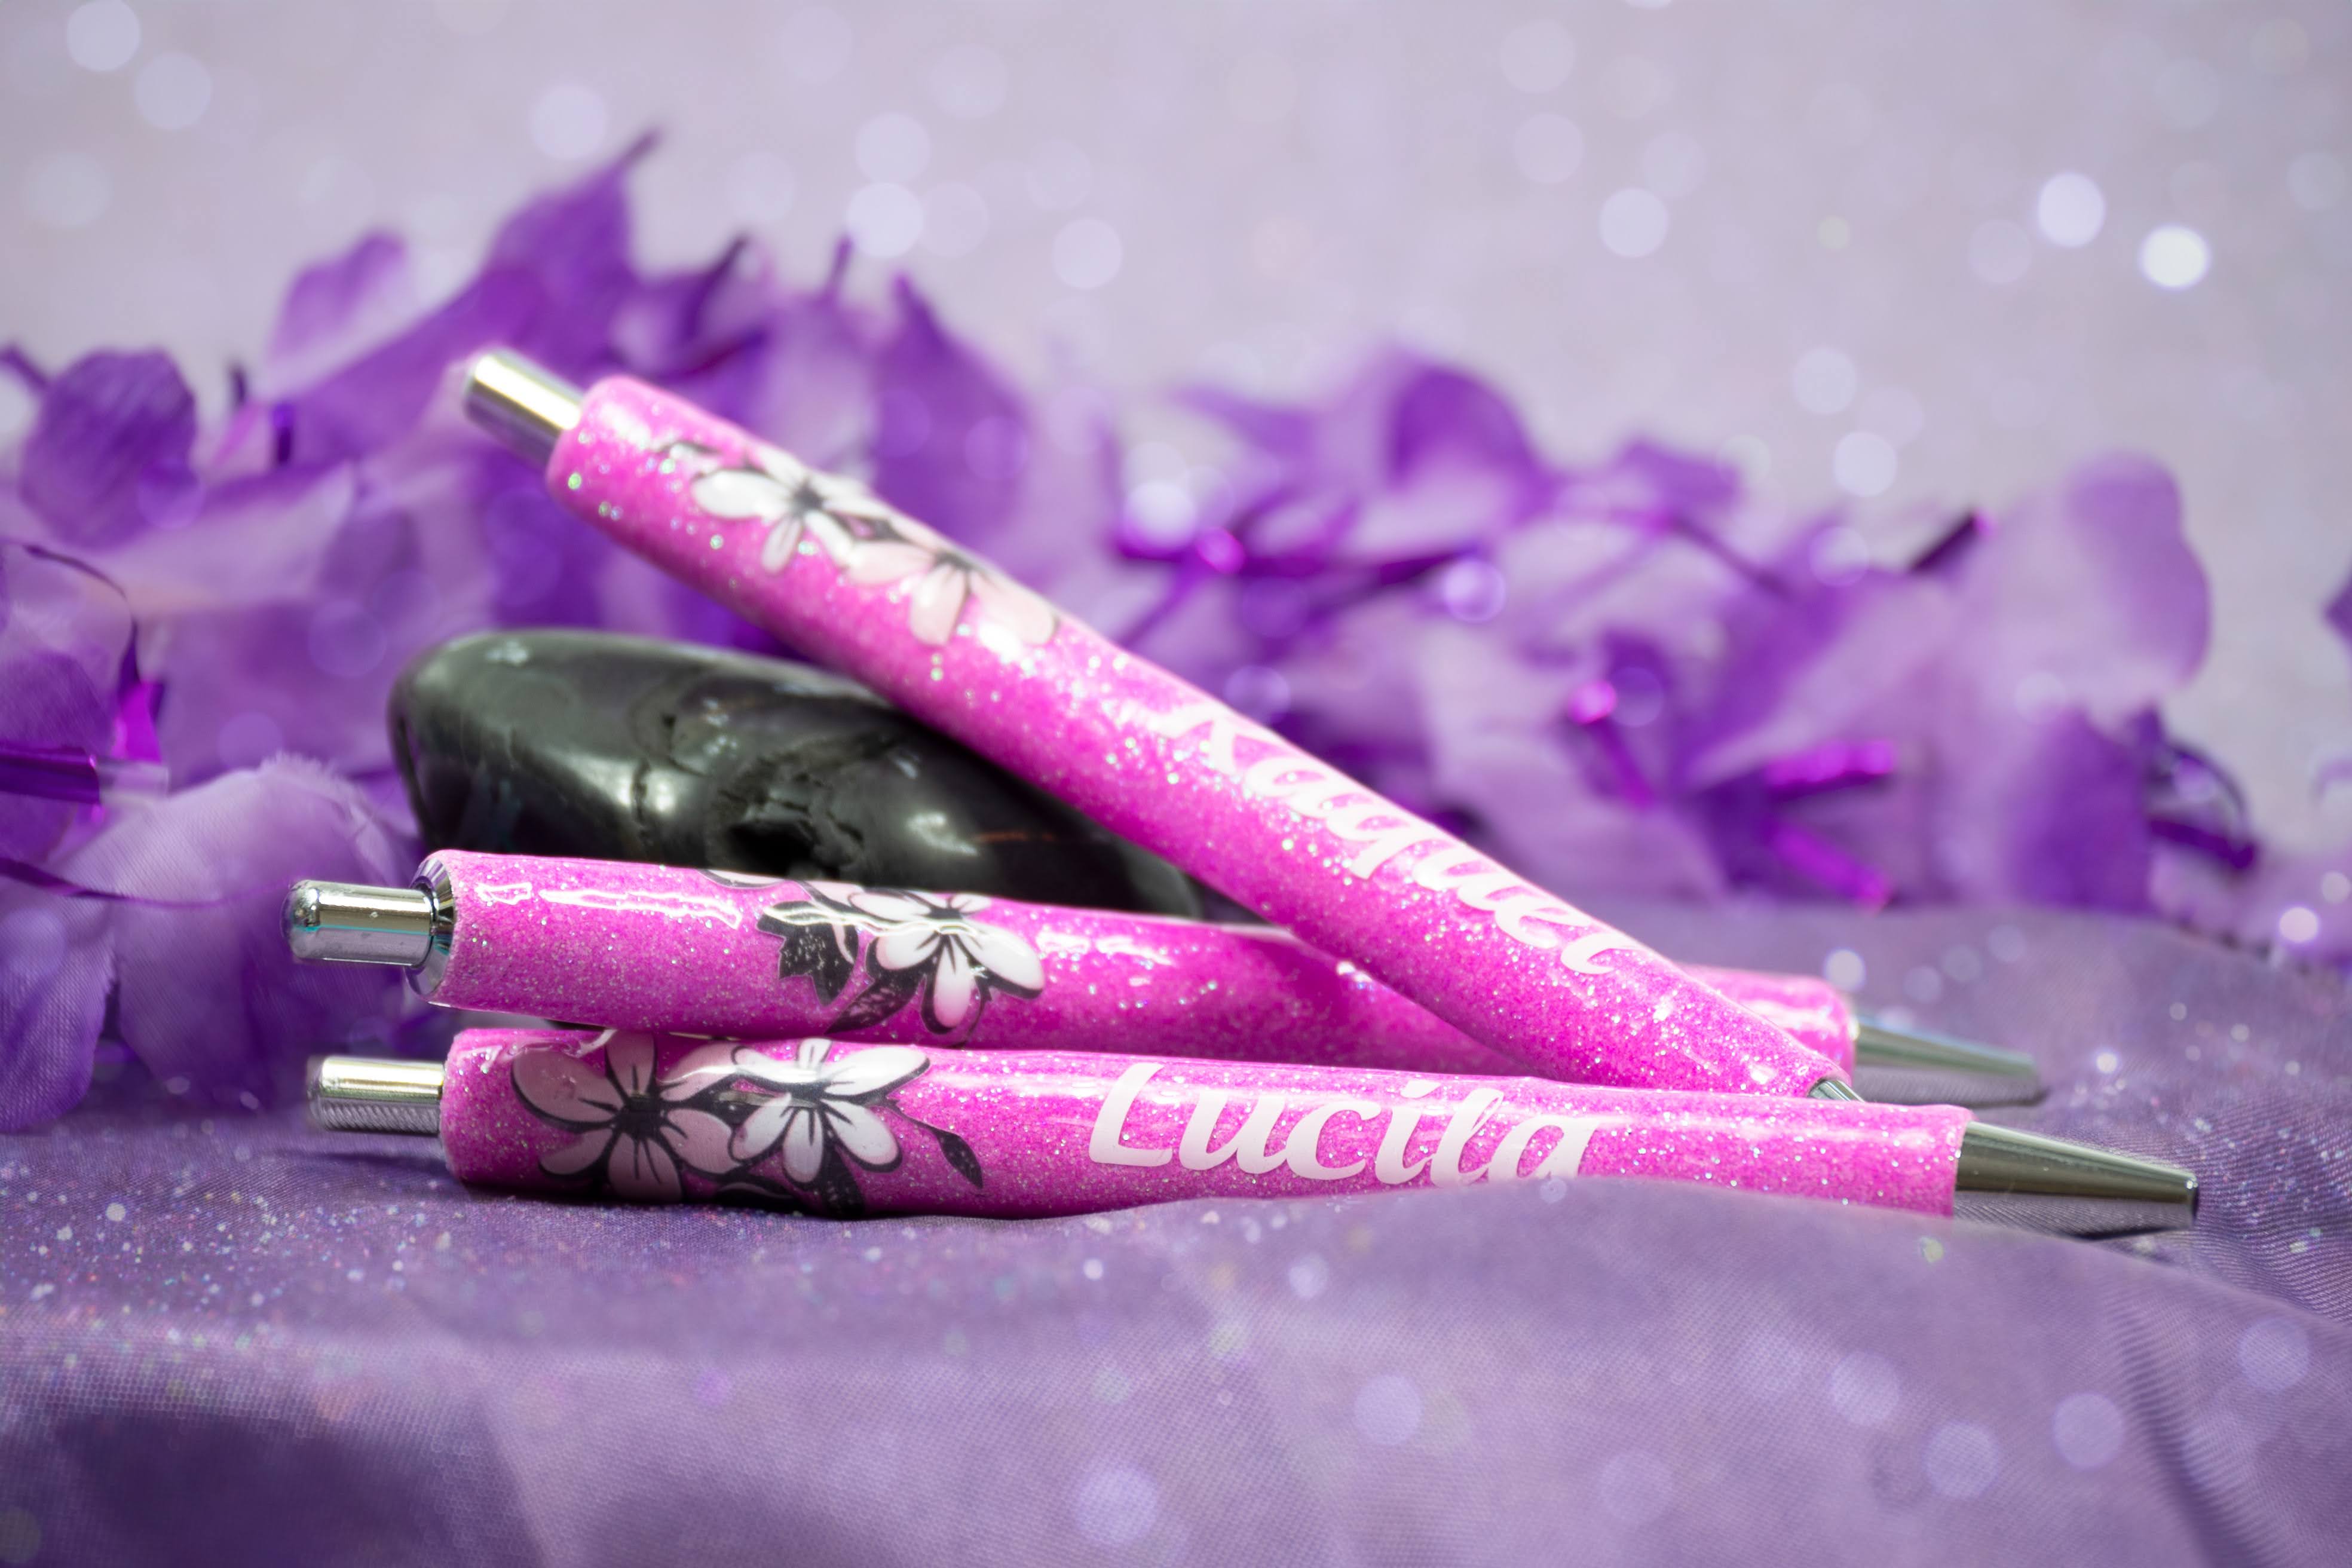
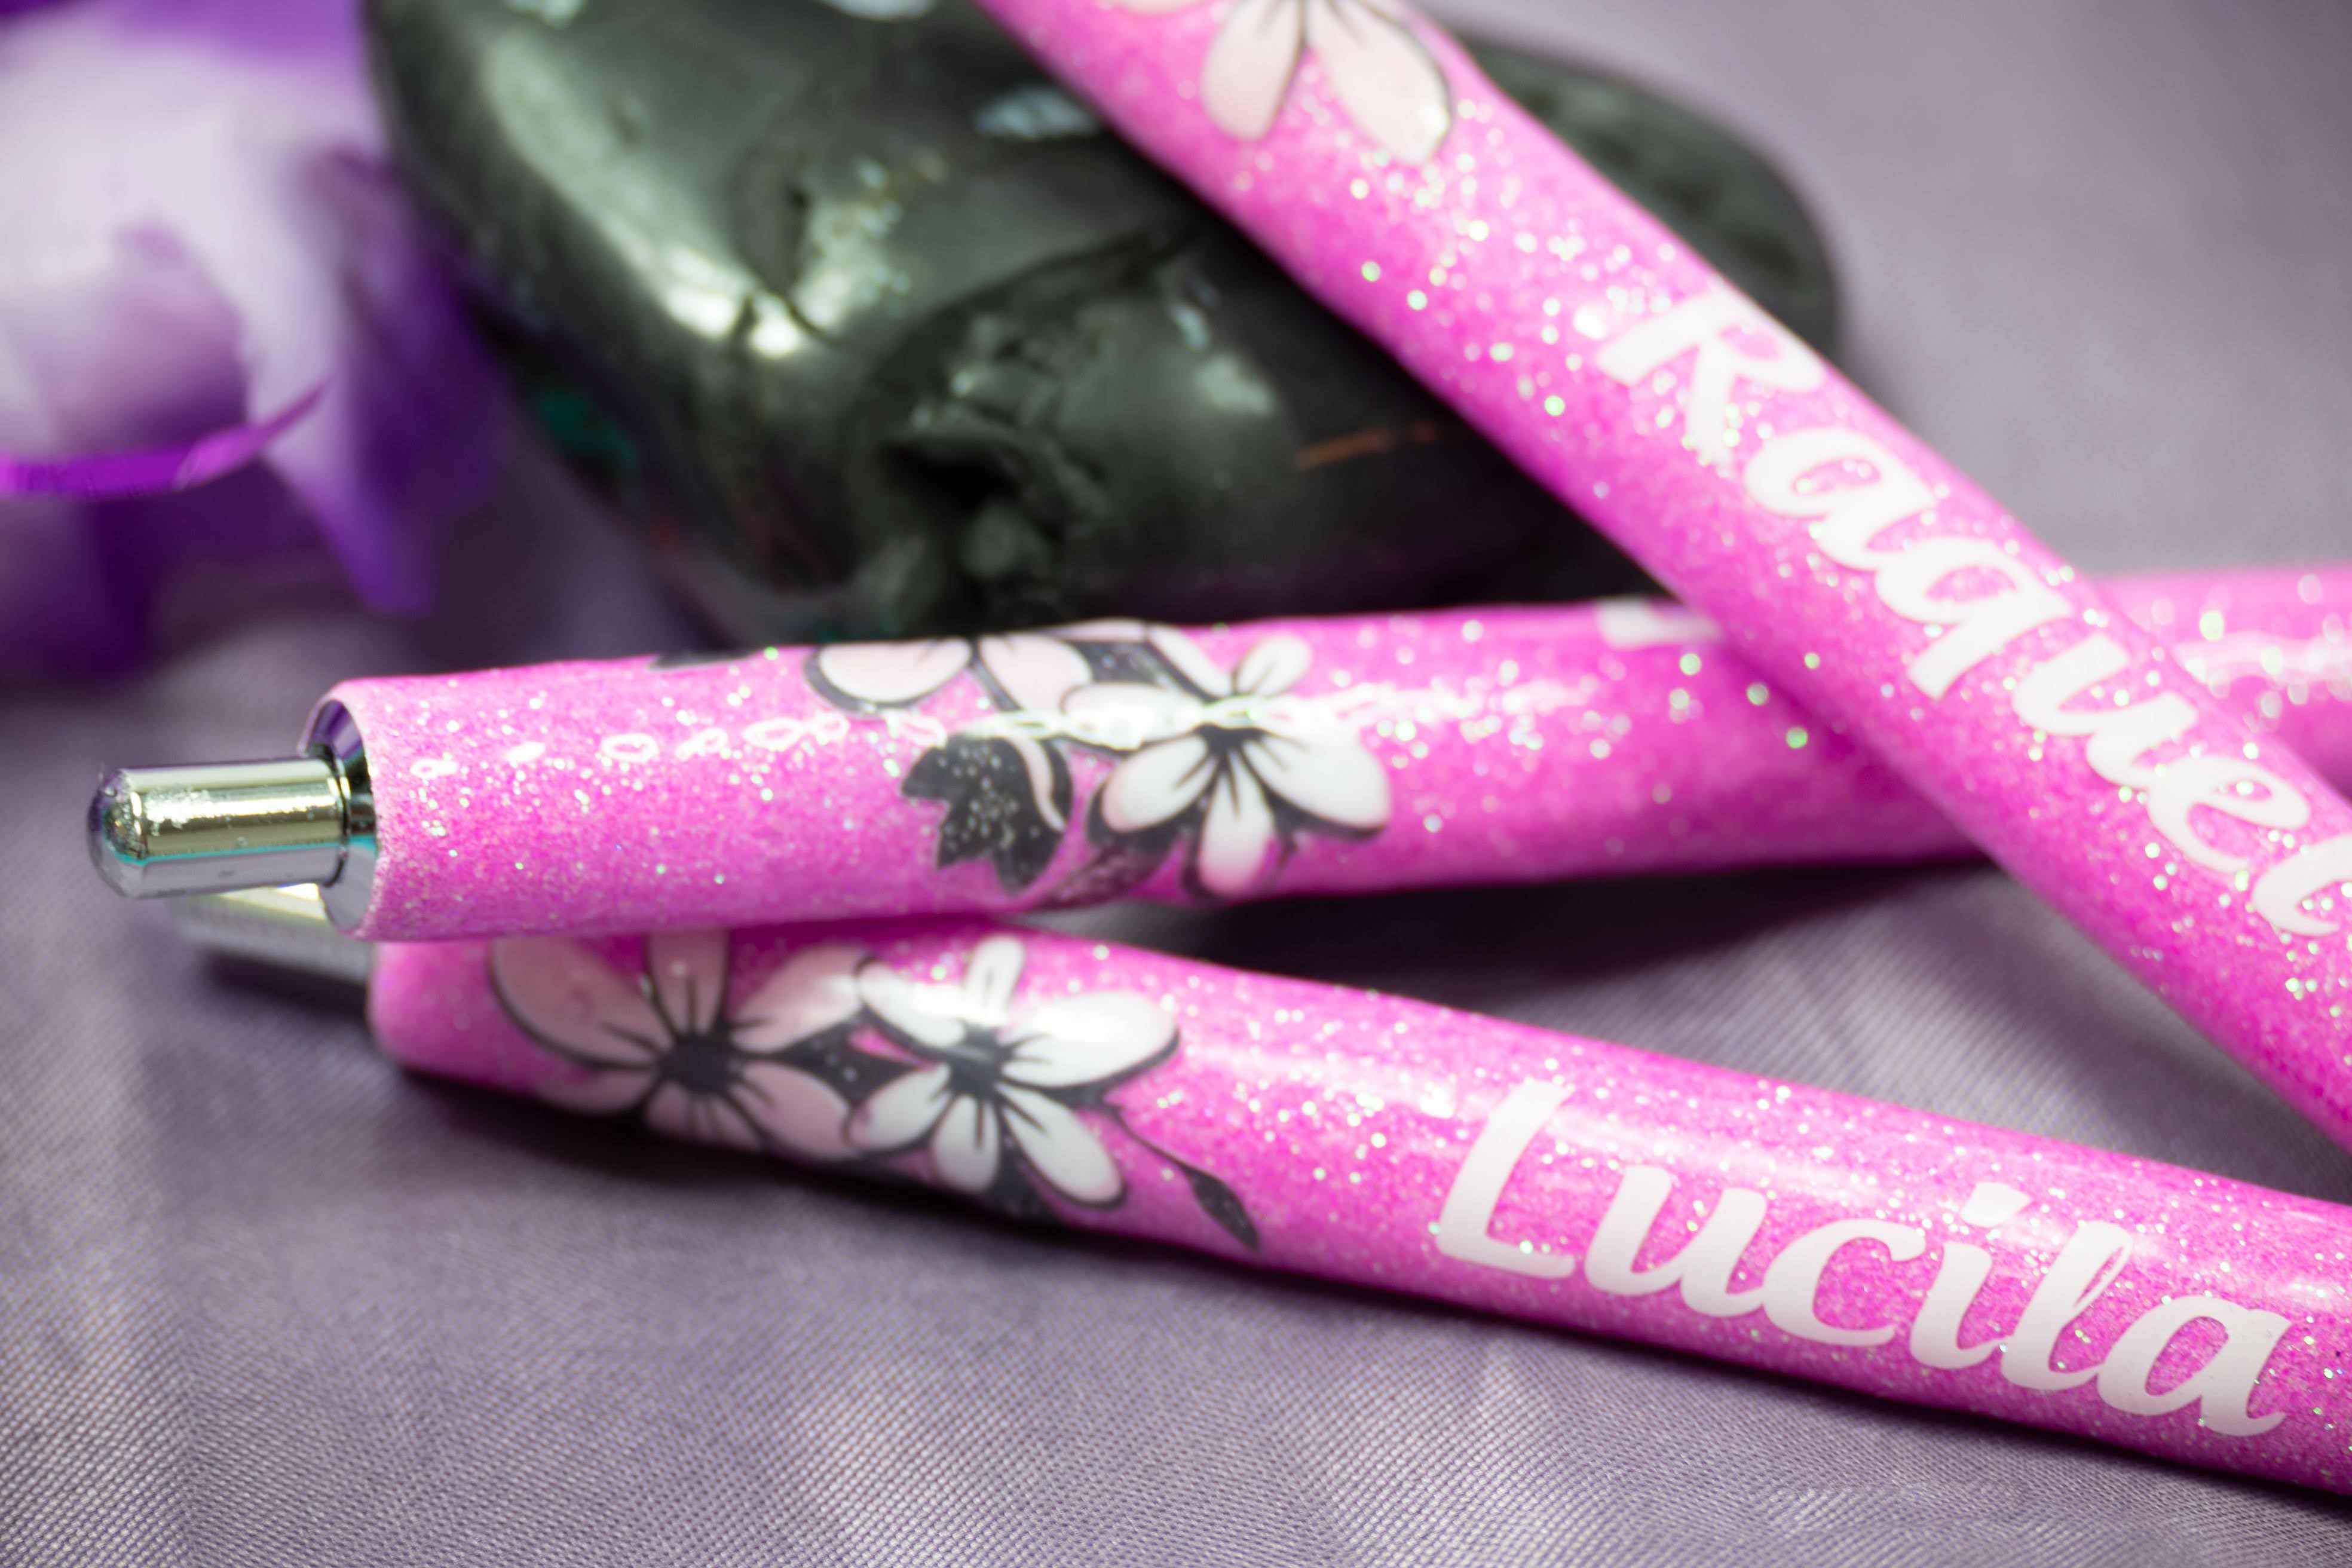
How to make a UV resin glitter pen
Spanish and English versions
Are you ready to embark on a creative journey and make a dazzling glitter pen that shines with your unique style? This step-by-step tutorial will guide you through crafting a stunning glitter pen using UV resin.
The UV resin, cured with the help of a UV lamp, will transform a simple pen blank into a personalized masterpiece that captures attention with its sparkling allure.
This project combines UV resin's versatility with Glitter's mesmerizing beauty, allowing you to express your creativity and create a one-of-a-kind writing instrument. Whether you want to add a touch of elegance or make a bold statement, this tutorial will walk you through the entire process, from gathering the materials to curing the resin with a UV lamp.
Before we begin, please note that working with UV resin requires careful handling and adherence to safety guidelines. It is essential to read and follow the instructions provided by the manufacturer of your specific UV resin product. Additionally, ensure you can access a UV lamp for the curing process.
Let's gather our materials, prepare our workspace, and embark on this exciting glitter pen crafting adventure!
I will also provide you with the list on Amazon, so you can find everything more accessible Glitter Pen
Materials you will need:
Step 1: Prepare Your Workspace: Set up a clean, well-ventilated workspace. Lay down a plastic sheet or parchment paper to protect your work surface. Put on protective gloves to keep your hands clean and safe.
- pen
- UV resin
- Glitter (choose your preferred colors)
- UV lamp
- Protective gloves
- acrylic color
- Sandpaper (optional)
Step 1: Prepare Your Workspace: Set up a clean, well-ventilated workspace. Lay down a plastic sheet or parchment paper to protect your work surface. Put on protective gloves to keep your hands clean and safe.
Step 2: Prepare the Pen Blank: Inspect the clear pen blank for dust or debris. If needed, lightly sand the surface with sandpaper to enhance resin adhesion. Use a clean cloth to wipe away any dust.
Step 3: Apply Acrylic Color. Please choose your desired acrylic color and apply it to the pen blank. A brush or sponge can create an even and smooth coating.
Step 4: Add Glitter to the pen: Select your preferred glitter colors. Star pouring the Glitter and ensure it is evenly distributed.
Step 5: Fill the Pen with the Resin: Carefully pour the resin into the pen blank. Take your time to avoid introducing air bubbles.
Step 6: Cure the Resin with a UV Lamp: Place the pen blank with resin under a UV lamp. Follow the manufacturer's instructions for the recommended curing time. Typically, it takes a few minutes for the resin to cure completely. Ensure all sides of the pen blank receive sufficient UV exposure.
Step 7: Finishing Touches: Remove the pen blank from the UV lamp once the resin is fully cured. Inspect for any imperfections or rough edges. If necessary, use sandpaper or a file to smooth out the surface of the pen blank, enhancing its appearance and comfort. And now its time to add some stickers
Step 8: Apply new Uv resin layers to protect the sticker and cure again with the UV lamp
Step 9: Assemble the Pen: Follow the instructions for your pen kit to assemble the pen components. Attach the pen clip, cap, and any other parts according to the pen kit instructions.
Congratulations on successfully creating your glitter pen with UV resin! The unique combination of resin and Glitter adds a touch of elegance and personality to your writing instrument. Enjoy using your sparkling creation, and let your creativity shine through!
Remember to prioritize safety by following all precautions and manufacturer's instructions when working with UV resin.
Remember to prioritize safety by following all precautions and manufacturer's instructions when working with UV resin.
Versión en Español
¿Estás listo para embarcarte en un viaje creativo y hacer un deslumbrante bolígrafo con purpurina que brille con tu estilo único? Este tutorial paso a paso lo guiará a través de la elaboración de un impresionante bolígrafo con purpurina utilizando resina UV. La resina UV, curada con la ayuda de una lámpara UV, transformará un simple bolígrafo en una obra maestra personalizada que captará la atención con su atractivo brillante.
Este proyecto combina la versatilidad de la resina UV con la fascinante belleza de Glitter, lo que le permite expresar su creatividad y crear un instrumento de escritura único en su clase.
Este tutorial lo guiará a través de todo el proceso, desde reunir los materiales hasta curar la resina con una lámpara UV.
Antes de comenzar, tenga en cuenta que trabajar con resina UV requiere un manejo cuidadoso y el cumplimiento de las pautas de seguridad. Es esencial leer y seguir las instrucciones proporcionadas por el fabricante de su producto de resina UV específico. Además, asegúrese de poder acceder a una lámpara UV para el proceso de curado.
¡Reunamos nuestros materiales, preparemos nuestro espacio de trabajo y embarquémonos en esta emocionante aventura de creación de bolígrafos con purpurina!
También les facilitaré la lista en Amazon, para que poduedan encontrar todo más accesible Glitter Pen
Materiales que necesitarás:
bolígrafo
resina ultravioleta
Purpurina (elige tus colores preferidos)
lampara ultravioleta
Guantes protectores
color acrílico
papel de lija (opcional)
Paso 1: prepare su espacio de trabajo: un espacio de trabajo limpio y bien ventilado. Coloque una hoja de plástico o papel pergamino para proteger su superficie de trabajo. Póngase guantes protectores para mantener sus manos limpias y seguras.
Paso 2: Prepare el boligrafo, asegurese de limpiar algun residuo. Si es necesario, lije ligeramente la superficie con papel de lija para mejorar la adhesión de la resina. Use un paño limpio para limpiar el polvo.
Paso 3: Aplicar Color Acrílico. Elija el color acrílico que desee y aplíquelo al bolígrafo. Esto crea una capa uniforme y suave.
Paso 4: Agrego el glitter o purpurina al bolígrafo: seleccione sus colores de brillo preferidos. Comience a verter el brillo y asegúrese de que se distribuya uniformemente.
Paso 5: Vierta con cuidado la resina en el boligrafo. Tómese su tiempo para evitar burbujas de aire.
Paso 6: Cure la resina con una lámpara UV: coloque el bolígrafo con resina debajo de una lámpara UV. Siga las instrucciones del fabricante para el tiempo de curado recomendado. Por lo general, la resina tarda unos minutos en curarse por completo. Asegúrese de que todos los lados del boligrafo reciban suficiente exposición a los rayos UV.
Paso 7: Toques finales: Retire el boligrafo de la lámpara UV una vez que la resina esté completamente curada. Inspeccione en busca de imperfecciones o bordes ásperos. Si es necesario, use papel de lija o una lima para alisar la superficie del blanco de la pluma, mejorando su apariencia y comodidad. Y ahora es el momento de agregar algunas pegatinas.
Paso 8: aplique nuevas capas de resina UV para proteger la pegatina y vuelva a curar con la lámpara UV
Paso 9: Ensamble el boligrafo: Siga las instrucciones del kit para ensamblar los componentes del boligrafo. Coloque el clip, la tapa y cualquier otra parte de acuerdo con las instrucciones.
¡Felicitaciones por crear con éxito su bolígrafo con purpurina con resina UV! La combinación única de resina y purpurina añade un toque de elegancia y personalidad a tu artículo de escritura. ¡Disfruta usando tu brillante creación y deja que tu creatividad brille!
Recuerde priorizar la seguridad siguiendo todas las precauciones y las instrucciones del fabricante cuando trabaje con resina UV.
 |


