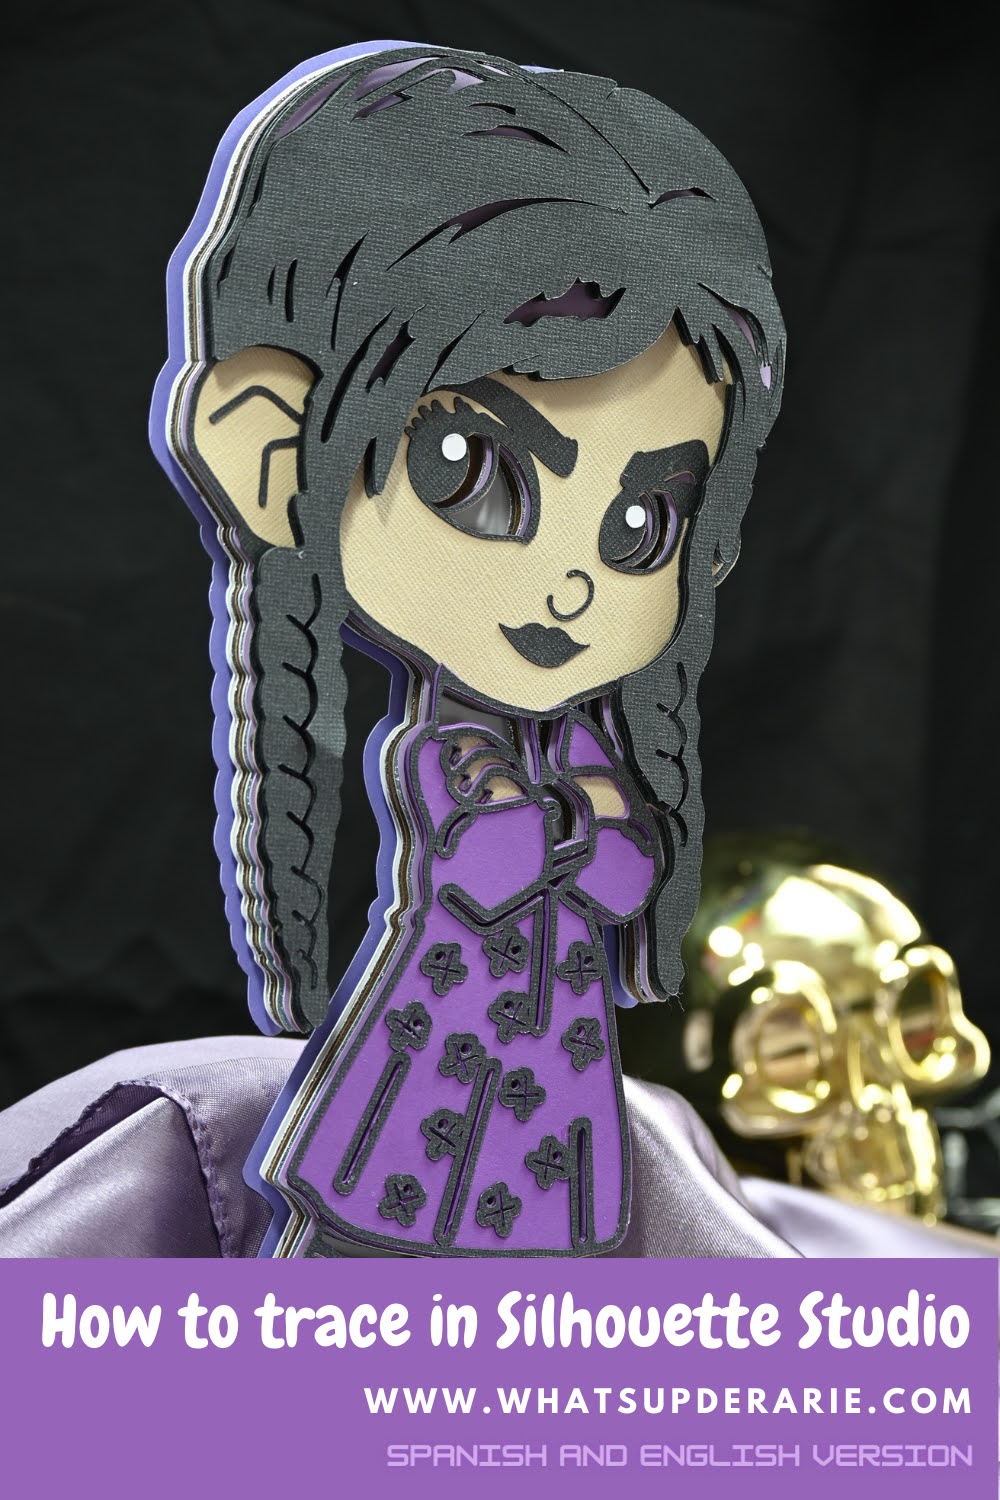
How to Trace in Silhouette Studio
Spanish and English version
But first, what is trace? It is to convert an image into a much more manageable, flexible, lightweight, and editable vector format.
Tracing is converting images into cuttable that have lines that the Silhouette program recognizes as cut lines.
How do we find the images and their meaning?
Bitmap images are made of a series of dots or pixels.
Vector images, on the other hand, are described by mathematical formulas.
Bitmap images are
- large
- very cumbersome to edit
- complex and slow to handle
- very small in size
- fully editable
- resizable without losing quality
- easy and fast to handle
How to use the trace panel?
Copy the image you want to trace once you've saved the image, open Silhouette, and select your file from the open file option. Highlight the image you would like to trace. The Trace panel is located on the right side of your screen. Click Select Track Area. Before tracing, you can select High Pass Filter. A high pass filter means that the trace lines start from the beginning/outside of the image to the inside; this is a good option for creating a primary cutout area for a detailed image. You can also change the Threshold number. When you increase the threshold, more space is covered.
Trace options:
- Trace: It will draw all the lines, both internal and external.
- Trace outer edge: You will make a cut line around the outer edge; this would be for a print and cut.
- Trace and detach: This tool acts like punches holes in the image by extracting it from its background.
If the trace function does not work because the image does not have a good resolution or the colors of the image are degraded, we can double-click on the image to obtain the editing points; in this way, we will begin to eliminate or leave the points that we want of the image and convert it to a path.
So we will create a much more refined image by editing the points and adding points using the draw tool on the left sidebar.
So we will create a much more refined image by editing the points and adding points using the draw tool on the left sidebar.
I have a class on YouTube where I explain step-by-step how to TRACE, VECTORIZE, and CUT Images in Silhouette Studio.
Versión en Español
Como trazar en Silhouette
Pero primero, ¿qué es trazar? Consiste en convertir una imagen a un formato vectorial mucho más manejable, flexible, ligero y editable.
Trazar es convertir imágenes en imagenes con lineas de corte donde el programa Silhouette las reconoce para cortar con el plotter de corte llamado Cameo.
¿Cómo encontramos las imágenes y su significado?
Las imágenes de mapa de bits están formadas por una serie de puntos o píxeles.
Las imágenes vectoriales, por otro lado, se describen mediante fórmulas matemáticas.
Las imágenes de mapa de bits son
- grande
- muy engorroso de editar
- complejo y lento de manejar
Por otro lado, las imágenes vectoriales son
- de tamaño muy pequeño
- totalmente editable
- redimensionable sin perder calidad
- fácil y rápido de manejar
¿Cómo usar el panel de rastreo?
Copie la imagen que desea rastrear una vez que haya guardado la imagen, abra Silhouette y seleccione su archivo de la opción de archivo abierto. Resalte la imagen que le gustaría rastrear. El panel de seguimiento se encuentra en el lado derecho de la pantalla. Haga clic en Seleccionar área de seguimiento. Antes de realizar el seguimiento, puede seleccionar Filtro de paso alto. Un filtro de paso alto significa que las líneas de seguimiento comienzan desde el principio/exterior de la imagen hacia el interior; Esta es una buena opción para crear un área de recorte principal para una imagen detallada. También puede cambiar el número de umbral. Cuando aumenta el umbral, se cubre más espacio.
Opciones de rastreo o trazado:
Trazar: Dibujará todas las líneas, tanto internas como externas.
Trazar el borde exterior: Hará una línea de corte alrededor del borde exterior; esto sería para una impresión y corte.
Trazar y separar: esta herramienta actúa como perforaciones en la imagen extrayéndola de su fondo.
Si la función de rastreo no funciona porque la imagen no tiene una buena resolución o los colores de la imagen están degradados, podemos hacer doble clic sobre la imagen para obtener los puntos de edición; de esta manera, comenzaremos a eliminar o dejar los puntos que queramos de la imagen y convertirla en un trazado, es cuando empezamos mas a fondo a manipular y crear nodos.
Así que crearemos una imagen mucho más refinada editando los puntos y agregando puntos usando la herramienta de dibujo en la barra lateral izquierda.
Tengo una clase en YouTube donde explico paso a paso cómo TRAZAR, VECTORIZAR y CORTAR imágenes en Silhouette Studio.


