Easter Eggs Ideas
Ready for Easter? To prepare this beautiful party full of joy, I propose you to do some crafts. In this post, I’ve turned up a few simple ideas that will make Easter egg style the best episode for your family this year. So you will have an organize a fun day of egg hunt!. During this Easter holiday, I hope my dearie you have enough time for some craft workshops with the kiddos, so let's begin.

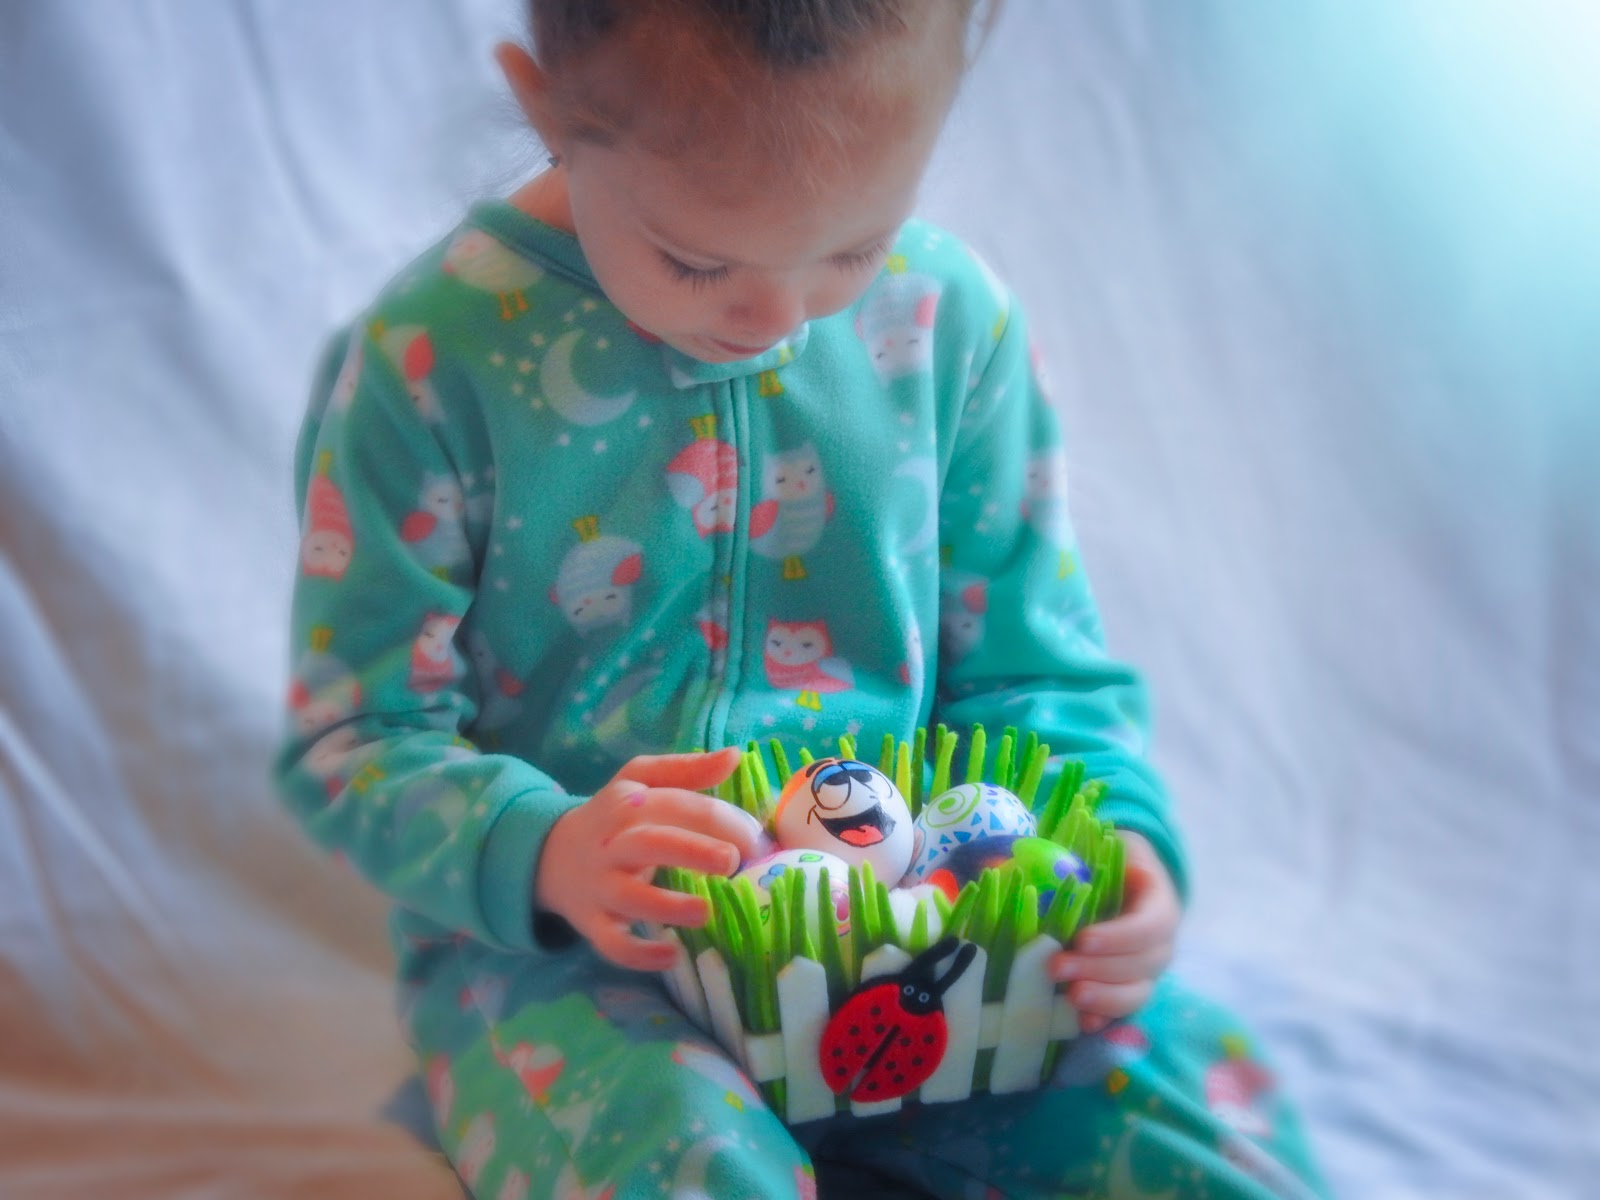
Easter Egg decorating is a traditional celebration for several families. It’s no mystery, though, that dying eggs can result in a real mess. We will be replacing the dye with other materials such as paints, markers, stickers; and we will create sensational Easter eggs with less mess.
Decorated eggs
This activity is fun and straightforward to make, perfect to give a festive touch to our home at Easter time.
The first thing to do is cook the eggs to be painted, for this, there are two options: boil it until it is hard or empty the interior.
Materials
Different color of paints
Paintbrush
Bowl of water
Markets and much more.
1- Coloring Easter egg cooked
The first step to do is boil the egg. Boil the eggs for 8-10 minutes to make them hard. Allow to cool and dry thoroughly with paper towels.
2- Paint the empty Easter egg
If we choose to paint the bare egg, the first step will be to empty the egg. To do this, carefully make two holes at each end of the egg with the help of a pin and turn it over. You can blow through a hole or help yourself with a stick to push the egg white and break the yolk until all the contents are extracted.
Wash the egg thoroughly and dry it with kitchen paper. Although delicate, it is the best way to decorate the egg if we want to keep it indefinitely to decorate our home at any time. Hold the egg to paint. Insert a stick into the empty egg and claw it on a surface like a piece of cork to hold the egg, and color it.
The next step will be let your imagination goes through and let it go.


Easter recipe
Super fun and easy, ideal to do with the kids on holidays, This recipe of chicks in the nest, will be a perfect activity to cook with children. Unquestionably, you will love it!
Once the plate is finished, they will be so surprised and proud that they will love to repeat it on more than one occasion.
Salad Ingredients:
Boiled eggs, capers, carrots, lettuce, tomatoes, cucumber, onions, cilantro, and celery
Preparation
Place the eggs in a pan with some cold water and add a little salt and put on fire until it boils.
Remove them from the water.
Now peel carefully.
Once peeled, with the tip of the knife, cut around the egg making zig-zagging.
Now, separate carefully to avoid breaking the yolk (the chick).
Make the eyes and the beak. For this, we will use carrot pieces for the pick and for the eyes capers or whatever you have in your pantry, just be creative.
Finally, we place all our chicks on the top of the nest made from lettuce and the rest of vegetables; what an excellent and fresh salad.


Frozen Eggs
It's about making a temporary toy, and I assure you that the child will love it. And this activity is ultra simple to do.
There are many possibilities to play with these great surprise eggs. We hope your kids can use their creativity to have a lot of fun.
Materials
Balloons
Small toys
Water
Freezer
Instructions
1. Very carefully, put the inside of the balloon.
2. Fill the balloon with water.
3. Add a few drops of color.
3. Put the ball in the freezer until the water turns to ice.
4. Then repeat the previous steps with many balloons as you desire.
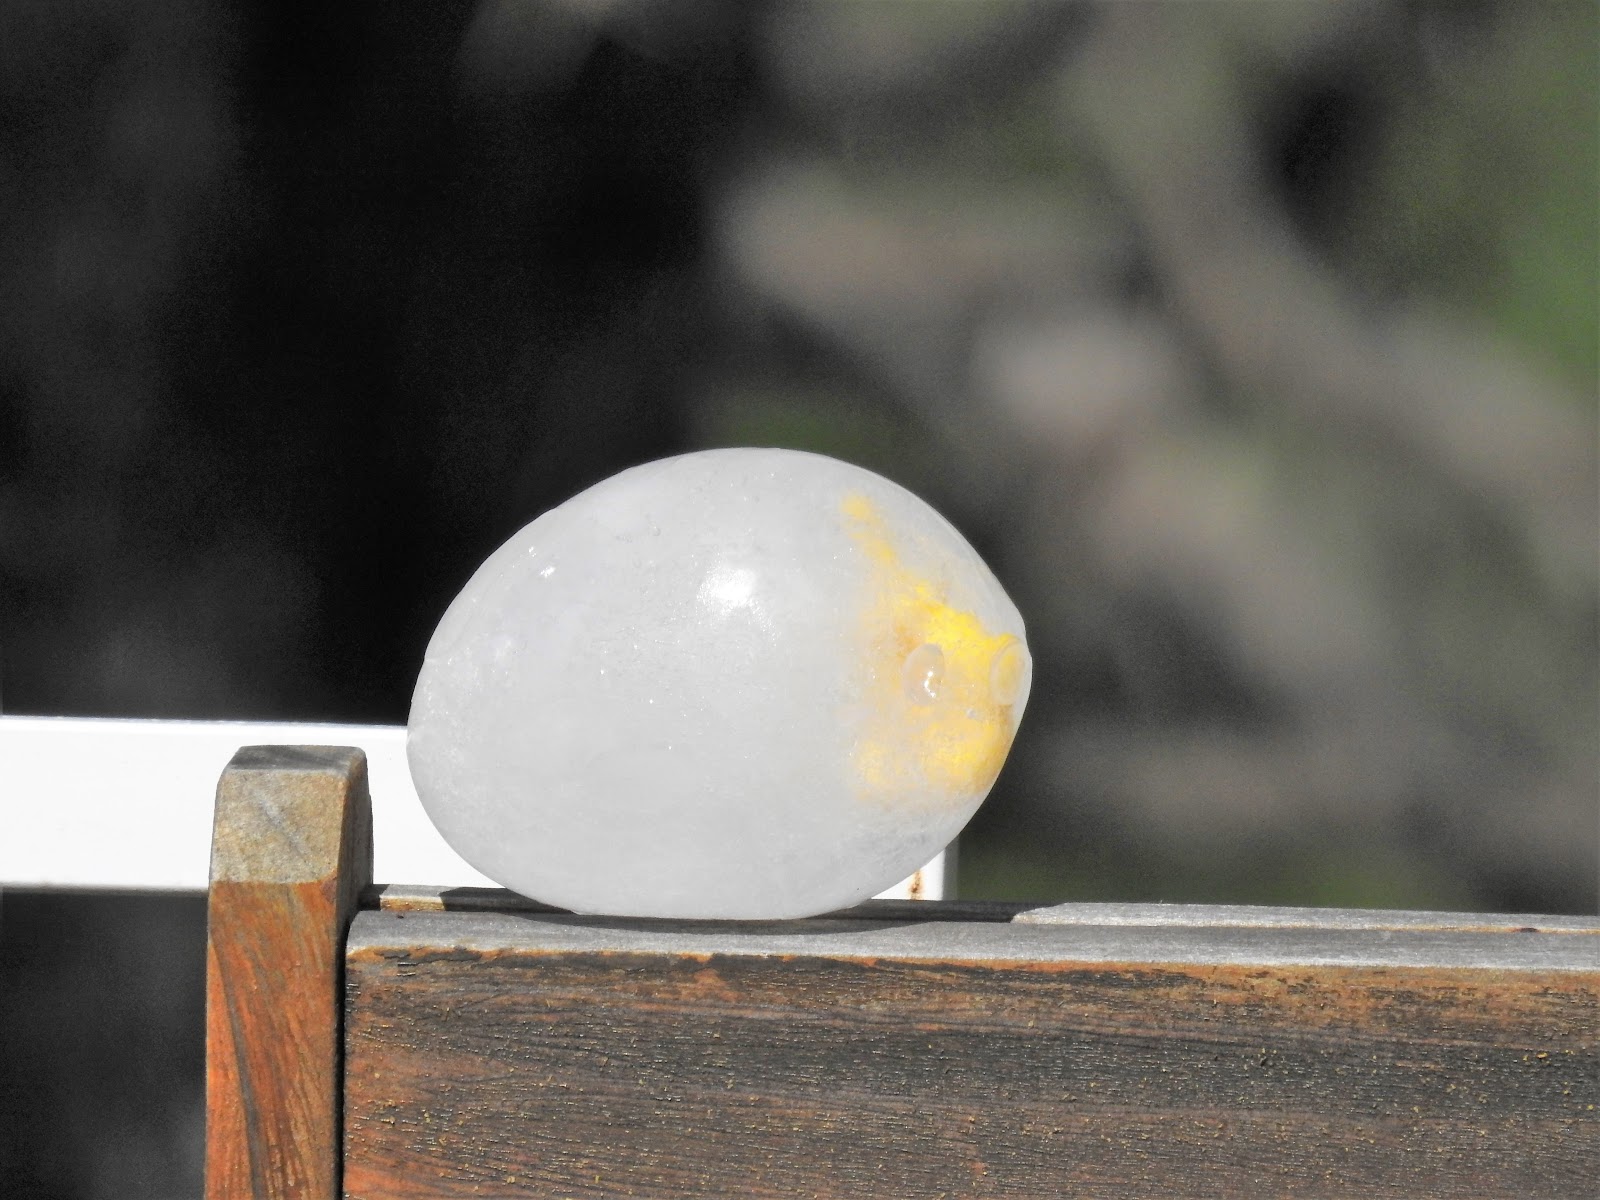
5. When the water has frozen, break the air balloons to get Frozen Eggs.
Now it's time to play and hides them in the garden, and you must get them before the ice melts.


Bunny
This funny bunny is super easy to make for the little ones in the house! You will only need two paper plates that we use at birthday parties and some cotton balls that you can stick with glue.
The little eyes are bottoms although if you want you can also make them from cardboard and the little ears are formed by cutting out the central part of one of the paper plates and painted in pink, and the little nose is a sparkling heart. The whiskers of the rabbit are a decorative ribbon.
Materials:
Two recycled paper plates
Cotton
Glue
Bottoms eyes
Pink paint
Scissors
Ribbon
Steps:
Paint the inside of one of the paper plates and cut it in half to make the ears of the Easter rabbit.
Staple the ears on the large plate at the back.
Stick the cotton balls on the round plate and on the ears to cover the entire surface.
Stick the eyes and whiskers, giving it a little bit of shape from the rabbit's mouth.
And that is how simple it is to make one cutie Easter bunny!


Have an enjoyable hunt, my dearie!
For more Easter cool ideas click here


Easter Egg decorating is a traditional celebration for several families. It’s no mystery, though, that dying eggs can result in a real mess. We will be replacing the dye with other materials such as paints, markers, stickers; and we will create sensational Easter eggs with less mess.
Decorated eggs
This activity is fun and straightforward to make, perfect to give a festive touch to our home at Easter time.
The first thing to do is cook the eggs to be painted, for this, there are two options: boil it until it is hard or empty the interior.
Materials
Different color of paints
Paintbrush
Bowl of water
Markets and much more.
1- Coloring Easter egg cooked
The first step to do is boil the egg. Boil the eggs for 8-10 minutes to make them hard. Allow to cool and dry thoroughly with paper towels.
2- Paint the empty Easter egg
If we choose to paint the bare egg, the first step will be to empty the egg. To do this, carefully make two holes at each end of the egg with the help of a pin and turn it over. You can blow through a hole or help yourself with a stick to push the egg white and break the yolk until all the contents are extracted.
Wash the egg thoroughly and dry it with kitchen paper. Although delicate, it is the best way to decorate the egg if we want to keep it indefinitely to decorate our home at any time. Hold the egg to paint. Insert a stick into the empty egg and claw it on a surface like a piece of cork to hold the egg, and color it.
The next step will be let your imagination goes through and let it go.


Easter recipe
Super fun and easy, ideal to do with the kids on holidays, This recipe of chicks in the nest, will be a perfect activity to cook with children. Unquestionably, you will love it!
Once the plate is finished, they will be so surprised and proud that they will love to repeat it on more than one occasion.
Salad Ingredients:
Boiled eggs, capers, carrots, lettuce, tomatoes, cucumber, onions, cilantro, and celery
Preparation
Place the eggs in a pan with some cold water and add a little salt and put on fire until it boils.
Remove them from the water.
Now peel carefully.
Once peeled, with the tip of the knife, cut around the egg making zig-zagging.
Now, separate carefully to avoid breaking the yolk (the chick).
Make the eyes and the beak. For this, we will use carrot pieces for the pick and for the eyes capers or whatever you have in your pantry, just be creative.
Finally, we place all our chicks on the top of the nest made from lettuce and the rest of vegetables; what an excellent and fresh salad.


Frozen Eggs
It's about making a temporary toy, and I assure you that the child will love it. And this activity is ultra simple to do.
There are many possibilities to play with these great surprise eggs. We hope your kids can use their creativity to have a lot of fun.
Materials
Balloons
Small toys
Water
Freezer
Instructions
1. Very carefully, put the inside of the balloon.
2. Fill the balloon with water.
3. Add a few drops of color.
3. Put the ball in the freezer until the water turns to ice.
4. Then repeat the previous steps with many balloons as you desire.
5. When the water has frozen, break the air balloons to get Frozen Eggs.
Now it's time to play and hides them in the garden, and you must get them before the ice melts.


Bunny
This funny bunny is super easy to make for the little ones in the house! You will only need two paper plates that we use at birthday parties and some cotton balls that you can stick with glue.
The little eyes are bottoms although if you want you can also make them from cardboard and the little ears are formed by cutting out the central part of one of the paper plates and painted in pink, and the little nose is a sparkling heart. The whiskers of the rabbit are a decorative ribbon.
Materials:
Two recycled paper plates
Cotton
Glue
Bottoms eyes
Pink paint
Scissors
Ribbon
Steps:
Paint the inside of one of the paper plates and cut it in half to make the ears of the Easter rabbit.
Staple the ears on the large plate at the back.
Stick the cotton balls on the round plate and on the ears to cover the entire surface.
Stick the eyes and whiskers, giving it a little bit of shape from the rabbit's mouth.
And that is how simple it is to make one cutie Easter bunny!


Have an enjoyable hunt, my dearie!
For more Easter cool ideas click here


